Thursday, November 26, 2009

An Ornament A Day Through November!


I love ornaments! They have heritage and fun and tradition all over them. I love giving them away. I love it when I pull mine out and remember someone who gave me one. I love making them! I wish my old ones could talk and tell me stories of their Christmas' past.

November 18 - November 30 Ornies

These are more ornament ideas from the Ornament Exchange that I host every year. Such talented and clever ladies!

These were all made with Vintage Christmas Cards. Made by Tammy from Canada.

These were balls wrapped in sparkly tulle - the picture doesn't do them justice, they really are quite beautiful. Made by Della.
This is a piece of toilet paper roll, cut into 1/3's and painted, then glittered. I am going to add a bow to this one for my shabby chic tree.

This little guy is a ball that has been covered with snow and then his features and hat added. He is adorable!

This clever snowflake is made with popscicle sticks and decorated with buttons. Very fun! Made by Laurie.

This ornie is made with 10 painted puzzle pieces ( 9 green - 1 brown) So cute! Made by me! (Sent as a gift and I had to make some with my grandson!)

This remarkable star is made with scrapbook paper - folded in a special way. It is amazing! Made by Laura.

This darling mitten has beads and a snowflake attached. It is really elegant. Made by Jaden in Idaho.


This lolipop is made with strips of felt rolled up to look like a lollipop - some people are so clever! Made by Larissa in Idaho.

This lollipop is all crocheted. I don't know how people think of all these things! Very cute.

Thsi is a nativity, counted cross stitched on a tiny stocking - very intricate and amazing. Made by Kerry in Wisconsin.

This ball has a crochet collar. It is beautiful! Made by Gayle in Utah.


This clay pot is adorable - I can't wait to put him on our Santa Tree! I think I would like to make some of these with my grandson, I think he would love it!
This is a paper clip made into an angle - so amazing! She will be perfect on my angel tree! By Cindy in Georgia.

This is a putz house made out of an old Christmas Card. Amazing! Made by Rhonda.

Sunday, November 15, 2009

November 11-17

I am part of an ornament exchange with people from all over the United States and Canada. This exchange is the reason I wanted to do an ornament a day post through November.

These are a few of the ornaments - I don't want to put pictures of all of them or it will give it away for those in the exchange. I will post more after the exchange is over.

This adorable tree is from Maranda in Georgia. You can't see the glitter, but it is a bright and cheery ornament.

This is a matchbox with music paper and snow on it. It is adorable! It is from Carol in Canada.

This is from Mary in Texas. It is made from 3 triangles of fabric sewn together and made to look like a tree. It is so clever and a fun ornament!

This is from Keri in Wisconsin. It is a counted cross stitch stocking, her work is flawless.

This is from Ann in Utah. It is an inch and a half block of wood with different pictures on each side and a hanging bead cluster at the botton. It is enchanting!

This is a felt mouse with a candy cane tail - I think he is adorable. It was made by Cindy in Georgia.

This quilted looking ball was made by Cindy in Texas. It is beatiful! I can't wait to get this on my Santa tree.

Tuesday, November 10, 2009

November 10 - Circle Ornaments

These ornaments are circles that have 3 sides folded in and glued together and I love them! I have found 3 versions of the same ornament. This first one looks like it is made out of scrapbook paper or could be made out of cards. Cute in a vase or on a tree. This version is from the Bo Bunny Site and is made from scrapbook paper with a little bobble on the end and cute ribbon to hang it up.
This version is from BHG and photo's have been added.

I am making mine from scrap book paper and making them smaller to fit on a shorter tree. They are fun!

November 9 - Ice Scicles

Aren't these darling ornies! I love them. I don't know where their source is, if these belong to you, please let me know!

Saturday, November 7, 2009

November 8 - Felt Star


Tomorrow is Sunday and I might not make it on here to post anything so it is going on today.
Felt is so fun to work with! This is actually a pattern from an advent set, but it makes a great ornament. It is also on my peppermint tree. I just found out it is from Jenny over at http://allsorts.typepad.com . All I did was cut out a star, blanket stitch around the edge with red and add a button to the middle, fast, fun, a great movie project!

November 7 - Crochet Doilies

I did not actually make this doily. My grandmother did. It is lbeautiful. I had quite a few pieces of her work and I got them all out winter and added them by color to whatever holiday they matched and am displaying them all through the year. This little doily makes a lovely ornament. She died in 1967ish and it was made long before that, so it is very vintage!

November 6 - Mod Podge Ornies


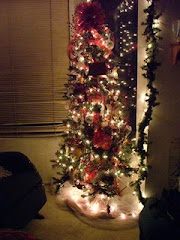
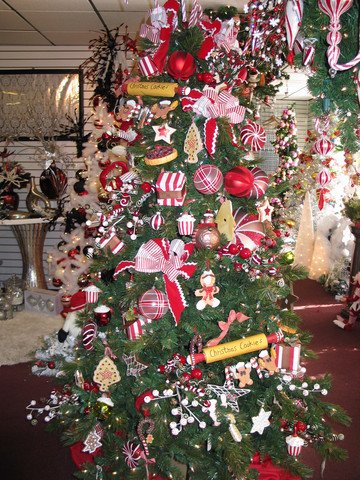
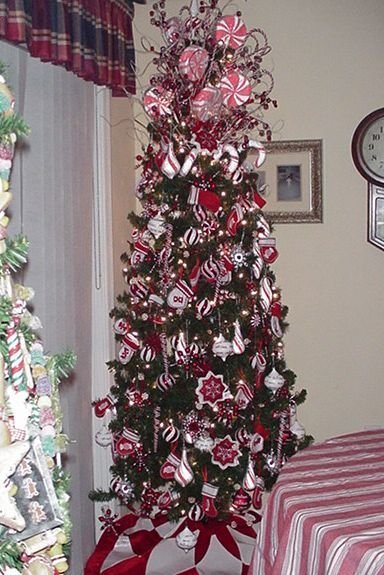
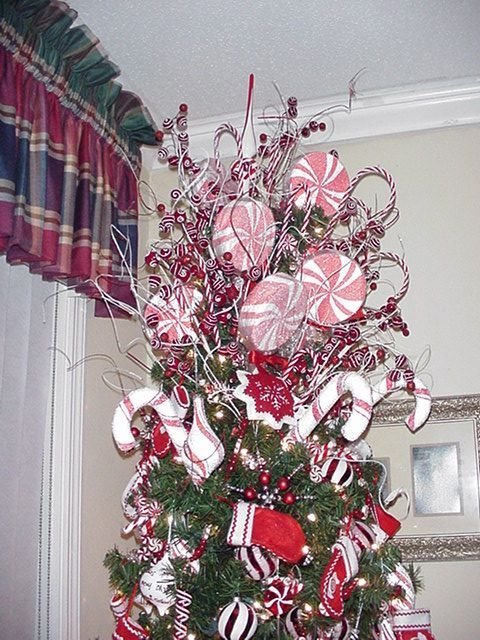
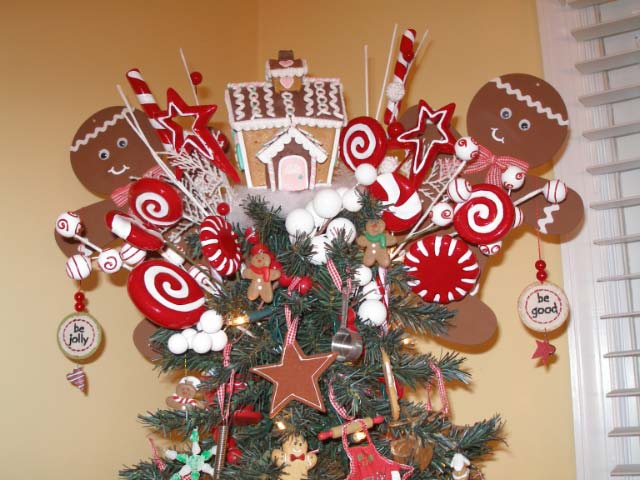
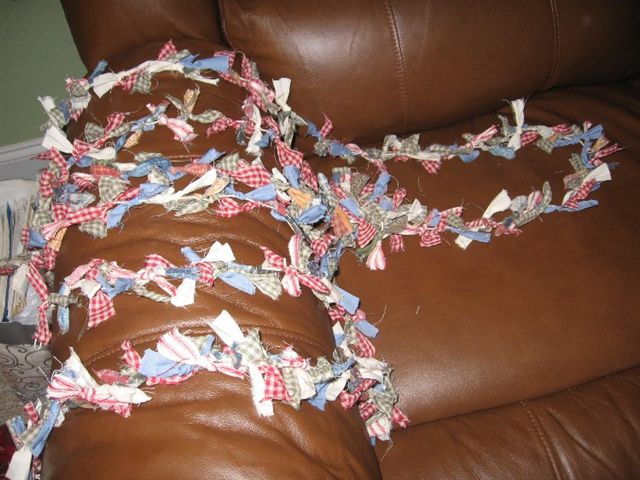
Mod Podging is one of the greatest things to do! It is so relaxing and you can create to your hearts content! This ornie is mod podged with red and white Christmas fabric and goes on my peppermint tree.

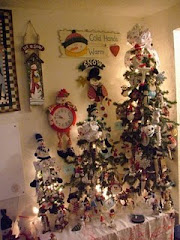
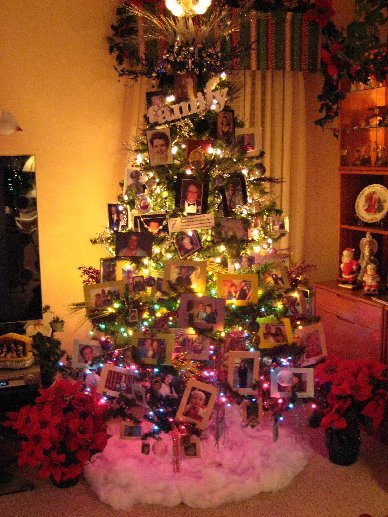
Last year I also mod podged some ornies with pieces of an old sheet of my grandmothers that was from the 40's for my ancestor tree. That sheet had tiny pink roses the balls are enchanting!

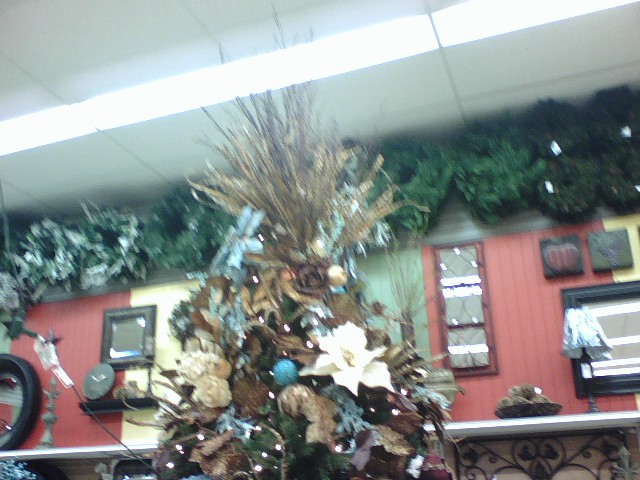
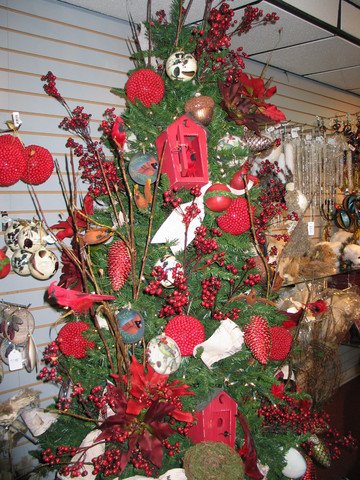
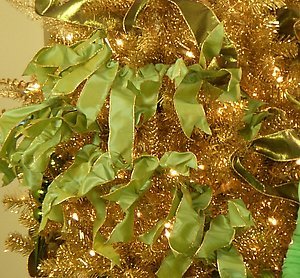
This year I am mod podging some glass balls in bright red, yellow and teal for a New Mexico tree.

Materials needed: Glass or old balls, fabric cut into small pieces with straight or zig-zag scissors, tissue paper or scrapbook paper scraps, mod podge.
Instructions - dip your material in the mod podge and let the mod podging fun begin! Cover your balls with the fabric or paper, let dry and add a bow if you want, you are done!

P.S. - I hooked my balls on a clothes hanger and let them dry overnight.


Thursday, November 5, 2009

November 5 - A Few Snowman Gift Ornies

I babysit my grandsons one day a week and today is that day! I decided on those days through November, I will show some ornaments that have been gifts to me.

This is from my friend Rhonda. This is an ornament made with a tile and a snowman rub on. It has a pearl border with a white satin ribbon for the top to hang it with. It also haswite ribbons hanging from the lower point of the tile square. The back is covered with felt.
This is from my friend Ann. He is made from felt with a black balnket stich around the edge. He has 3 buttons sewn on along with a button heart.. He has a fabric scarf that is about 1/2 inch wide, french knot mouth, pom nose and googley eyes. His hat is also made from felt with a sprig of holly and a gold sparkly pipe cleaner for embellishment.

This is also from my friend Ann. It is a quilted sewn square. The snomwn is a print from fabric. A bell is sews on the bottom corner.


This is from my friend Dana. He is a wooden painted ornie with a wire hanger that also has stars painted and glued on.

November 4 - Grandchildren's Tree Ornies

I added 2 tree's to my "Grandchildren Forest" this year. We had 2 babies born in August, so we get 2 new tree's. These are some ornies I am working on for those tree's. Pix posted as soon as camera card is replaced.

November 3 - Button Snowman

Our darling daughter made these for the same exchange I am in. They are cute snowmen made from a stack of white, black and red buttons...aren't they so cute!
You need 15 white button in gradual sizes, 1 red button, 4 black buttons - one big, 3 the same size. You also need 1/2 black pipe cleaner and orange foam for the nose.
String the buttons in gradual sizes to make the snowman shape on the black pipe cleaner. Add a foam triangle for the nose near the top. Then add big black button, red button for hat ribbon then the last 3 buttons for the top of the hat. Fold the remaining pipcleaner to a loop to hang it with.

November 2 - Bird Ornaments

Today I made Bird Ornies out of scrapbook paper for an exchange I am in. They turned out so great! I want to make a whole tree with these ornies!

You need two kinds of paper, chipboard, glitter, and ribbon.
I used a clip art program and found a bird body I liked.
Trace your body pattern onto chipboard and trace it on one of the papers too. Glue them to the chip board and then cut a slit in the middle of the bird about 1/2 down from the top of the back of the bird body.
Punch holes along the edge and cut the edge with fancy scissors. Then accordian fold the 6 inch square paper and stick it through the slit for wings.
Then I added ribbon, glitter, etc to embellish - I always feel like I am about in the 2nd grade when I glitter - I love it!
Here are a couple of the finished ones:

Please Come and Visit!

If you are a gardener - please visit my Gardening Ro om at Buckets of Gardening Ideas
See you next Fall!