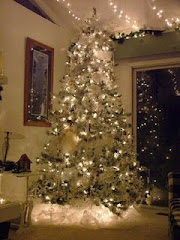
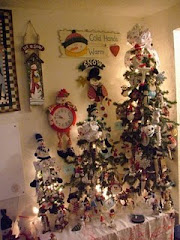
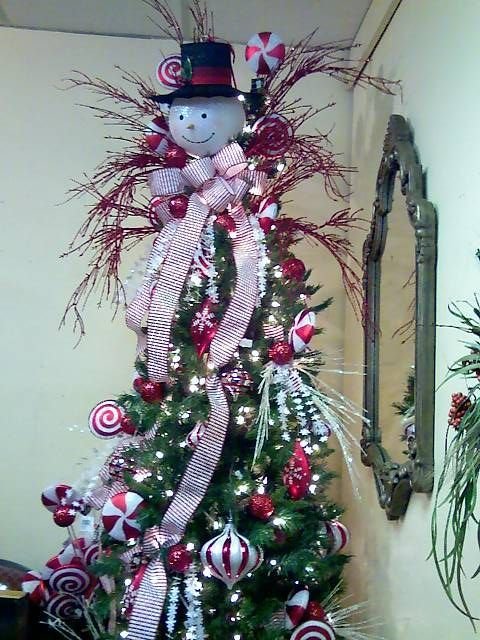
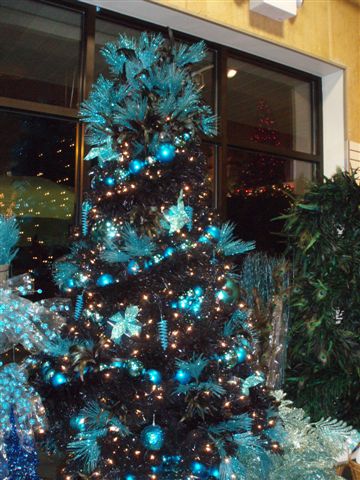
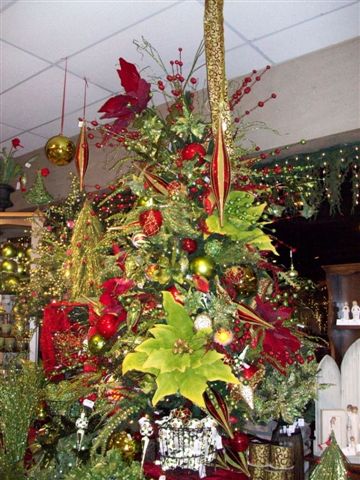
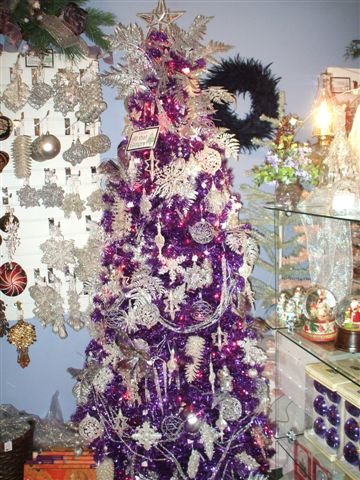
This will probably go on the Angel Tree in our room.

Supplies:1 cd, ribbon, pickDirections:1 - Tie bow2 -Hot glue Bow to about 1/2 inch from top of cd.3 - Hot glue pick under the middle of the bow.

MULTI STAR ORNAMENT
Supplies - Chipboard, Glitter, Glue - Elmer's, Stick glue, Christmas Card, Picture or Scrapbook paper with picture. Instructions: I used a star pattern from my Print Artist Program and made it 4 sizes. Cut out picture that will fit three stars. Glue them to chipboard. Make a solid bead of glue all around the edge of pictures. Add glitter, let dry. Add ribbon. Glue stars together.
Penny Ornaments
Made with felt and embroidery floss.
Actually I ran out of floss so I used 4 threads of white thread.
These are for the woodland tree.

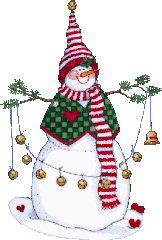
Lightbulb Snowman
This is made using a lightbulb, paint, fabric scraps and twigs.
Cute huh!
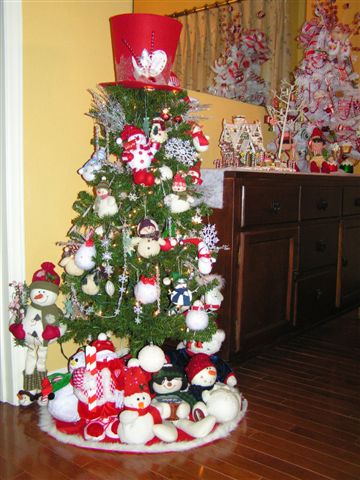
I will put him on my snowman tree. I think I will make a few more. They are easy and fast.
 SNOWMAN LIGHTBULB INSTRUCTIONS
Supplies: Light bulbs, white paint, orange paint, snow paint, twigs, fabric sraps, toothpick or orange foam scrap, 2 black beads for eyes. Instructions1 – Clean your bulb with rubbing alcohol and cotton ball.2 – Paint ball white – may take 2 coats. Then paint with snow effects paint. (I used an upside down styro cup and poked a hole in the bottom to dry bulb.3 – Paint the end of a tooth pick orange or cut a tiny piece of orange foam for nose.4 – Make a scarf out of a 9 inch x ½ inch fabric scrap and clip the ends in for fringe5 - Make a muff with a 2x 1 ½ square. Hot glue edge to make a tube.6 - Make a hat with a 4 inch by 4 in square. Hot glue along one edge to make tube.7 – Place at on bulb and tie around top to give it shape.8 – Add face with bead eyes and hot glue orange nose.9 – Glue twigs around neck area and hot glue muff to ends.10 – Add scarf – you are done!
My daughter and I made 25 of these for an exchange and it took us about 2 hours.
CD Snowman

CD SNOWMAN INSTRUCTIONS
Supplies:1 CD's, 1 Christmas Card, Snow and glue glitter or Glitter SnowDirections:1 - Glue two CDs together so that their shiny sides are out. If your CD has both sides shiny, then use only 1 CD.2 - Cut the snowman out in circle shape using CD for pattern.3 - Glue to CD. I used the back of the card because it was patterned to cover the back of the project. If you don’t have a back you can use scrapbook paper or glue another CD to the back.4 - Put snow along edges of the CD. Just bap it on here and there to make it resemble snow. Add glitter if your snow isn’t glittery. That’s it!
This was made by my friend Sharon from Texas.

Photo CD
This is a mini scrapbook page put on a CD.
It would have been cute to get some train buttons to embellish this with,
but we were going for frugal, use what you have in your house.
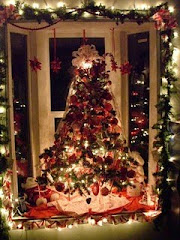
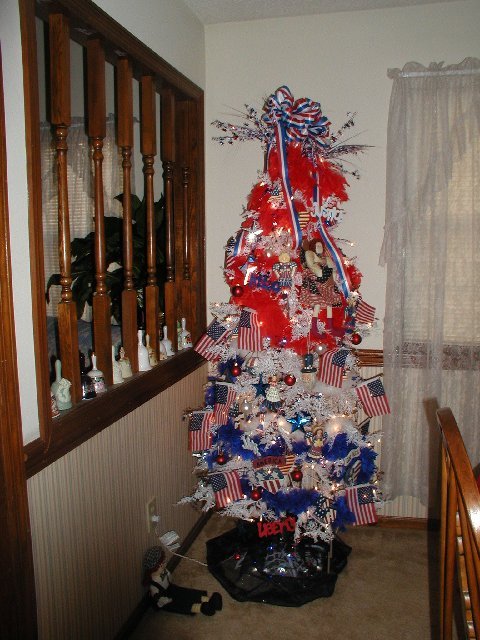
This will be on "my boy's" tree in the grandchild forrest. The theme is trains this year.

PHOTO CD ORNIE INSTRUCTIONS
Supplies:1 cd, scrapbook paper, pictures, embellishmentsDrections:1 - Trace Cd onto scrapbook paper and cut 2 circles2 - Glue ribbon to top of CD.3 - Glue paper onto CD.4 - Arrange pictures and glue onto CD5 - Add embellishments
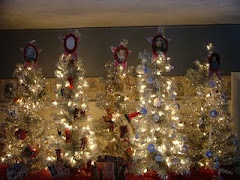
Spool Snowman
These were made using 3 different sizes of spools.
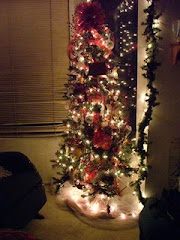
They will go on my snowman tree
 SPOOL SNOWMAN INSTRUCTIONS
Supplies: 3 spools, 1/4" fabric strip, White paint, buttons or paint, 1/4 inch bell, paint brushDirections:1 - Paint spools.2 -While they are drying, rip 1/4" piece of fabric 18" long.3 - String bell onto fabric strip and tiein the middle. Put both pieces of fabric through first spool, tie a knot, repeat with next 2 spools.4 - Paint on eyes and and mouth. Cut a sliver of foam for nose and glue on.


4 comments:
Hi
please you will be sharing the directions,they are all so cute and will make great additions to decorating for alot of us. Happy day and thanks in advance. judyyak
I sure hope you share the directions for some of these ornaments. What great ideas you have and they are all so very charming.
Hi, I was wondering if you could share the instructions for the paper star ornament. It is really cute and I would love to use it for our enrichment activity.
Thanks,
ddc
Lovely Christmas ornaments!
Post a Comment